Others,
first off, here's another look at an 'intact' Battery Geary illustration
to help us understand what we will see. Our approach to the battery will
be from bottom right in the rendering. I have numbered the Magazines for
reference purposes, but I really do not know if they were numbered or
lettered.
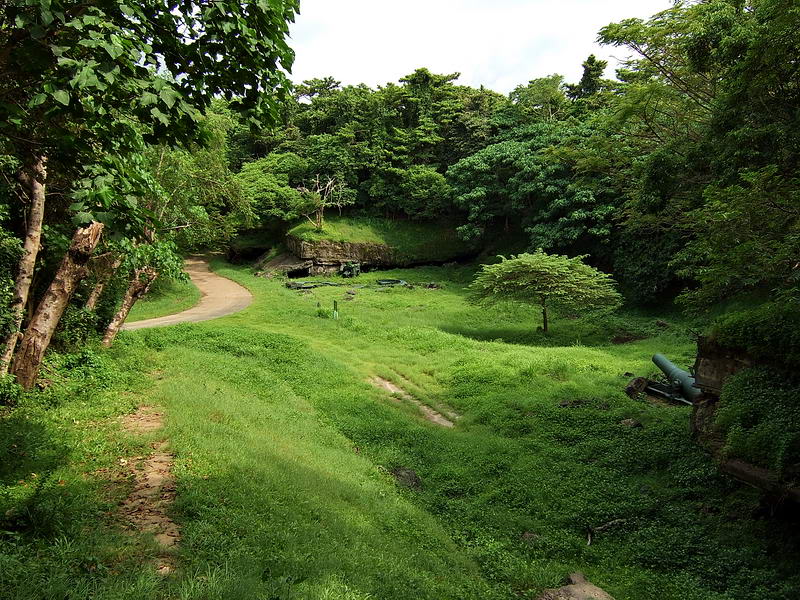
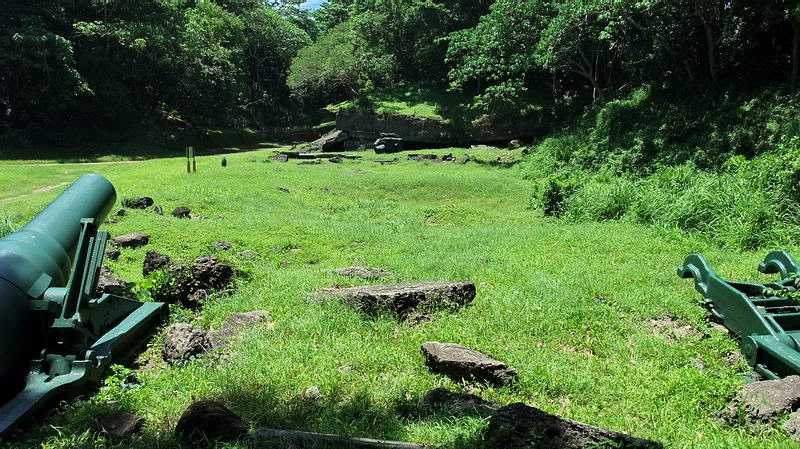
Magazine #1 is at the far right and one 12-inch mortar of Pit ‘A’ can be
seen beside it. A single tree grows in the centre of a crater that was
Magazine #2. (I included this 2006 photo to help pinpoint the crater,
that tree is gone now). The road winding around Magazine #3 heads toward
Battery Crockett.
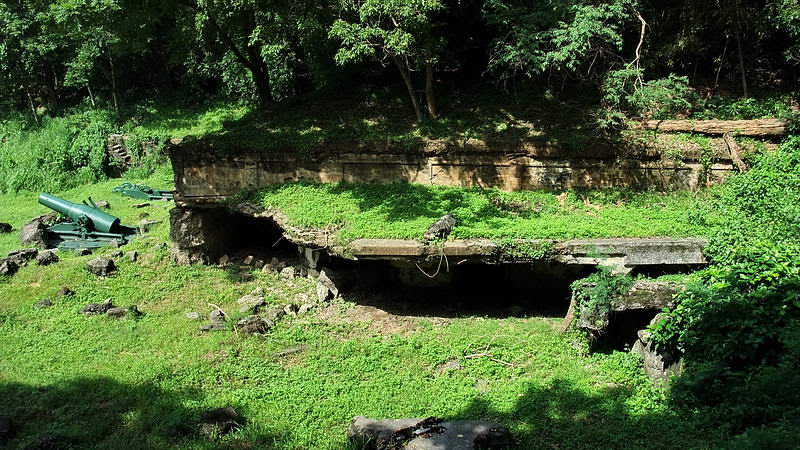
Magazine #1 straight ahead and part of Pit ‘A’ to the left.
I kicked away some dirt to expose one rail of the trolley line leading
to Magazine #1.
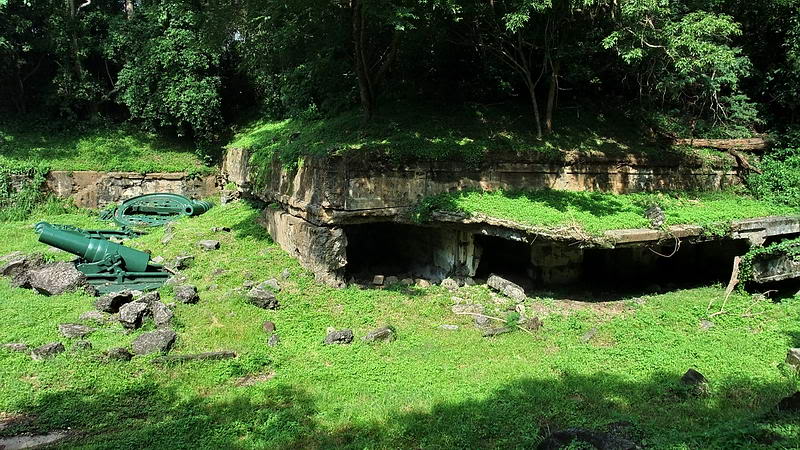
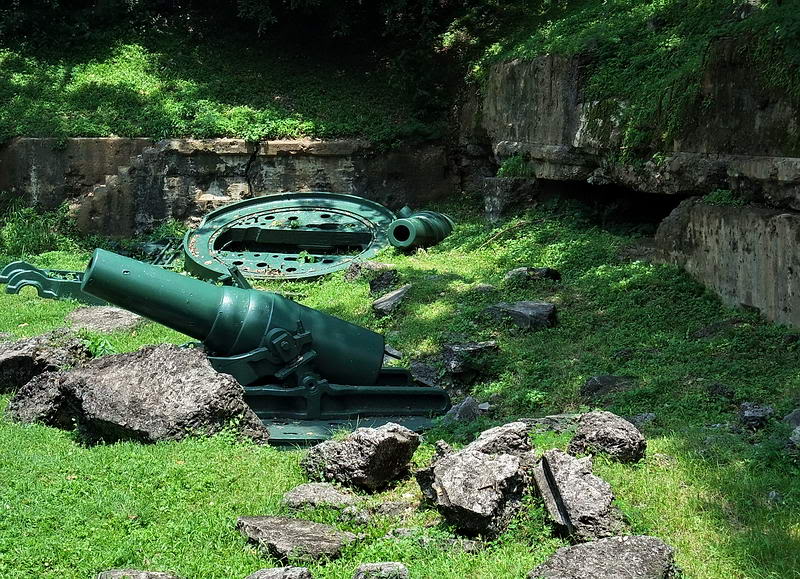
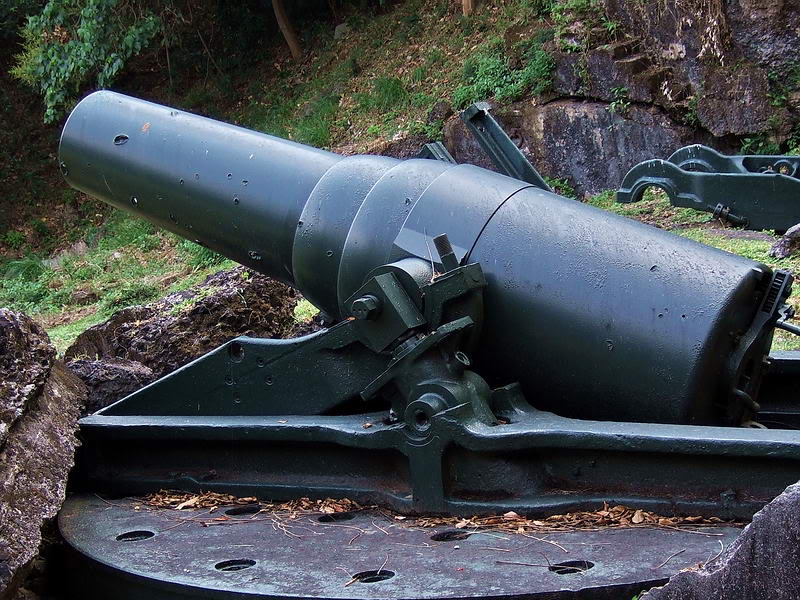
Pit ‘A’ and Magazine #1
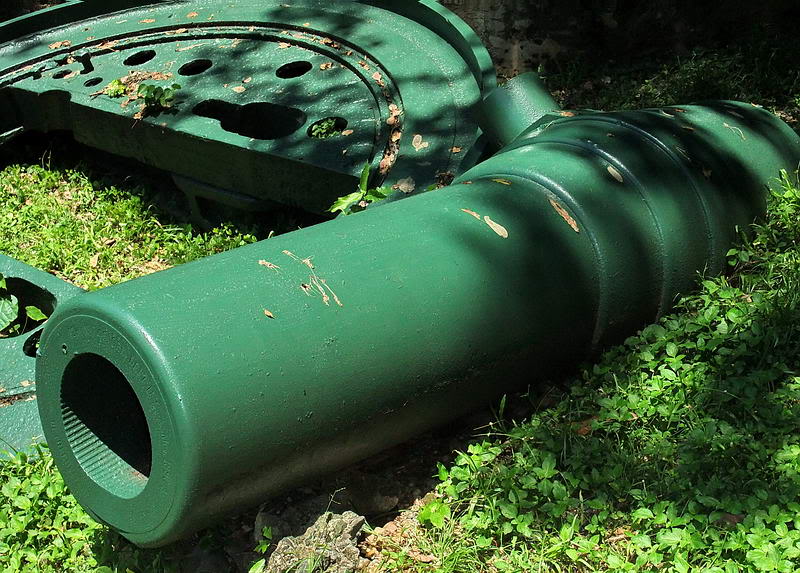
Pit ‘A’ has two of it’s four 12-inch mortars remaining at the battery.
In the background part of the parapet and a set of steps are still
there. A big section of Magazine #1’s outer wall is missing.